Assemble BATTERY CABLE LUGS
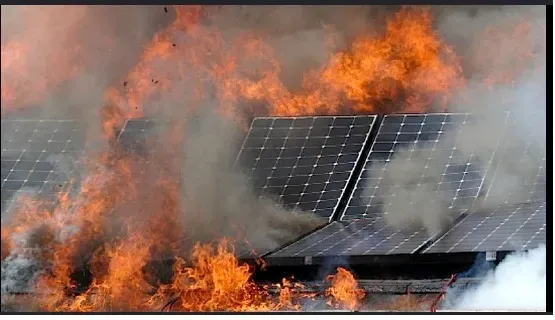
How to avoid battery fires by making sure battery lugs are solidly tight
Alright—battery cable lugs look simple enough, but they are notorious for being a "small job, big consequences" situation. A poor connection doesn't just mean your system works poorly, it means heat buildup, annoying voltage drops, or, in the worst cases, a fire hazard. Let’s break down how to get it done right so you can handle your battery connections like a seasoned pro. 🔧
- Image Suggestion: Close-up shot of a properly crimped, shiny copper lug with black heat shrink on a thick battery cable.
- ALT Text: Properly crimped and sealed battery cable lug for solar installation.
- Filename: professional-battery-lug-crimp.jpg
1. What You’re Actually Doing (The Goal)
You’re creating a low-resistance, high-current connection between a flexible battery cable (filled with fine copper strands) and a solid metal lug/terminal. The goal isn't just to attach it; it’s to create a tight, sealed, and corrosion-resistant contact that can handle massive electrical loads without failing.
- Image Suggestion: A side-by-side comparison image: on the left, a poor, frayed crimp, and on the right, a clean, professional crimp.
- ALT Text: Comparison of bad vs. good electrical cable crimp.
- Filename: good-vs-bad-crimp.jpg
2. Tools You’ll Need (Non-Negotiables vs. The Nice-to-Haves)
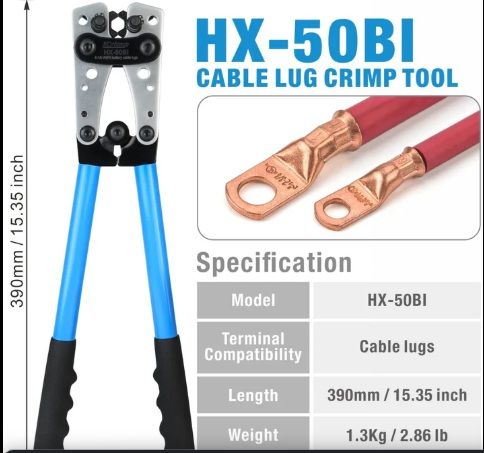
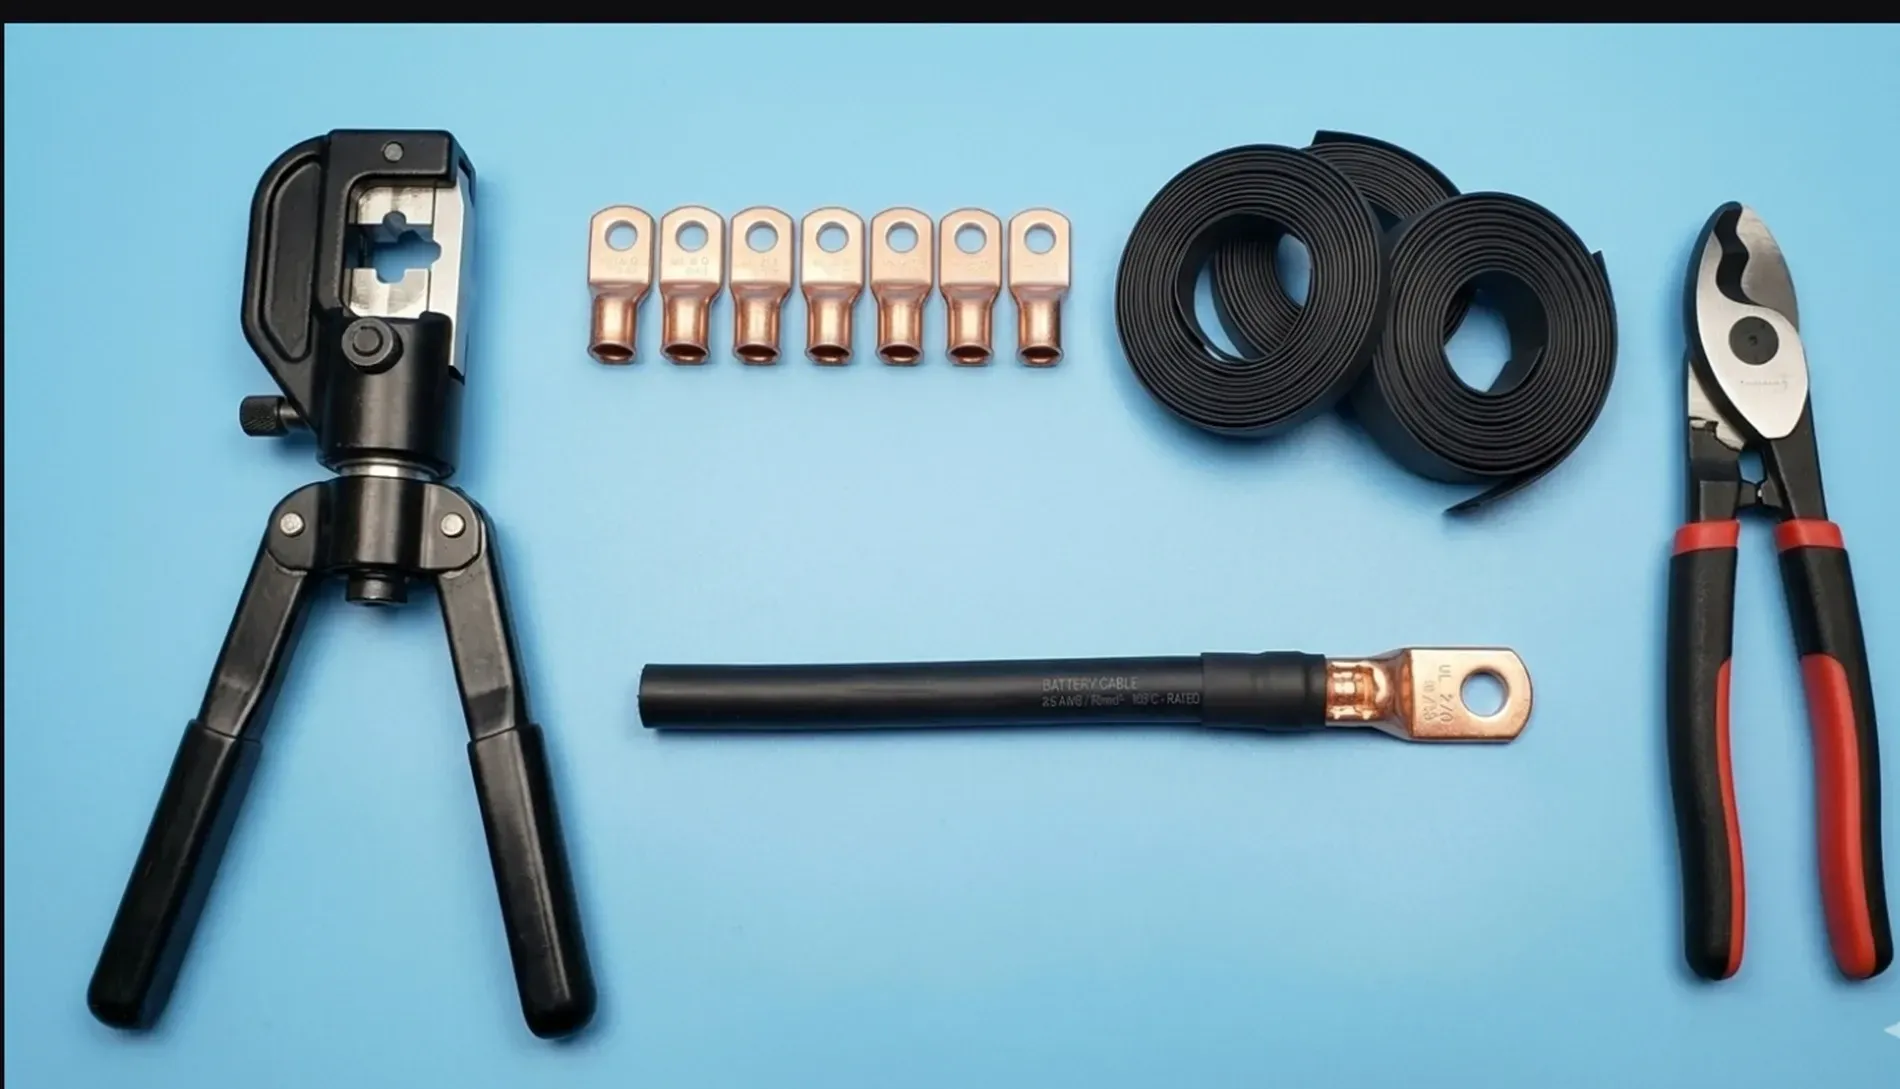
Core Tools: You need a solid cable cutter (not a hacksaw—clean cuts matter), a wire stripper, the right-sized lug terminals, and a crimping tool.
The Crimp: A hammer crimper is okay for a tight budget, but a hydraulic crimper is essential for consistent, professional results.
Recommended Add-ons: For the best results, use adhesive-lined heat shrink tubing (waterproof!), a heat gun, dielectric grease to prevent corrosion, and a multimeter to test for resistance.
- Image Suggestion: A tidy, well-lit top-down photo (flat-lay) of a hydraulic crimper, lugs, heat shrink, and cable cutters on a workbench.
- ALT Text: Tools required for battery cable lug crimping.
- Filename: battery-crimping-tools.jpg
3. Step-by-Step Assembly (The Right Way)
Step 1: Cut the Cable Clean — Avoid frayed strands. A straight, clean cut ensures maximum copper-to-lug contact.
Step 2: Strip Insulation — Strip just enough for the wire to fit perfectly inside the lug barrel. Be careful not to nick the copper strands, which can weaken current flow.
Step 3: Insert Cable into Lug — Push the cable fully into the lug until the insulation meets the barrel. No exposed copper should be visible outside.
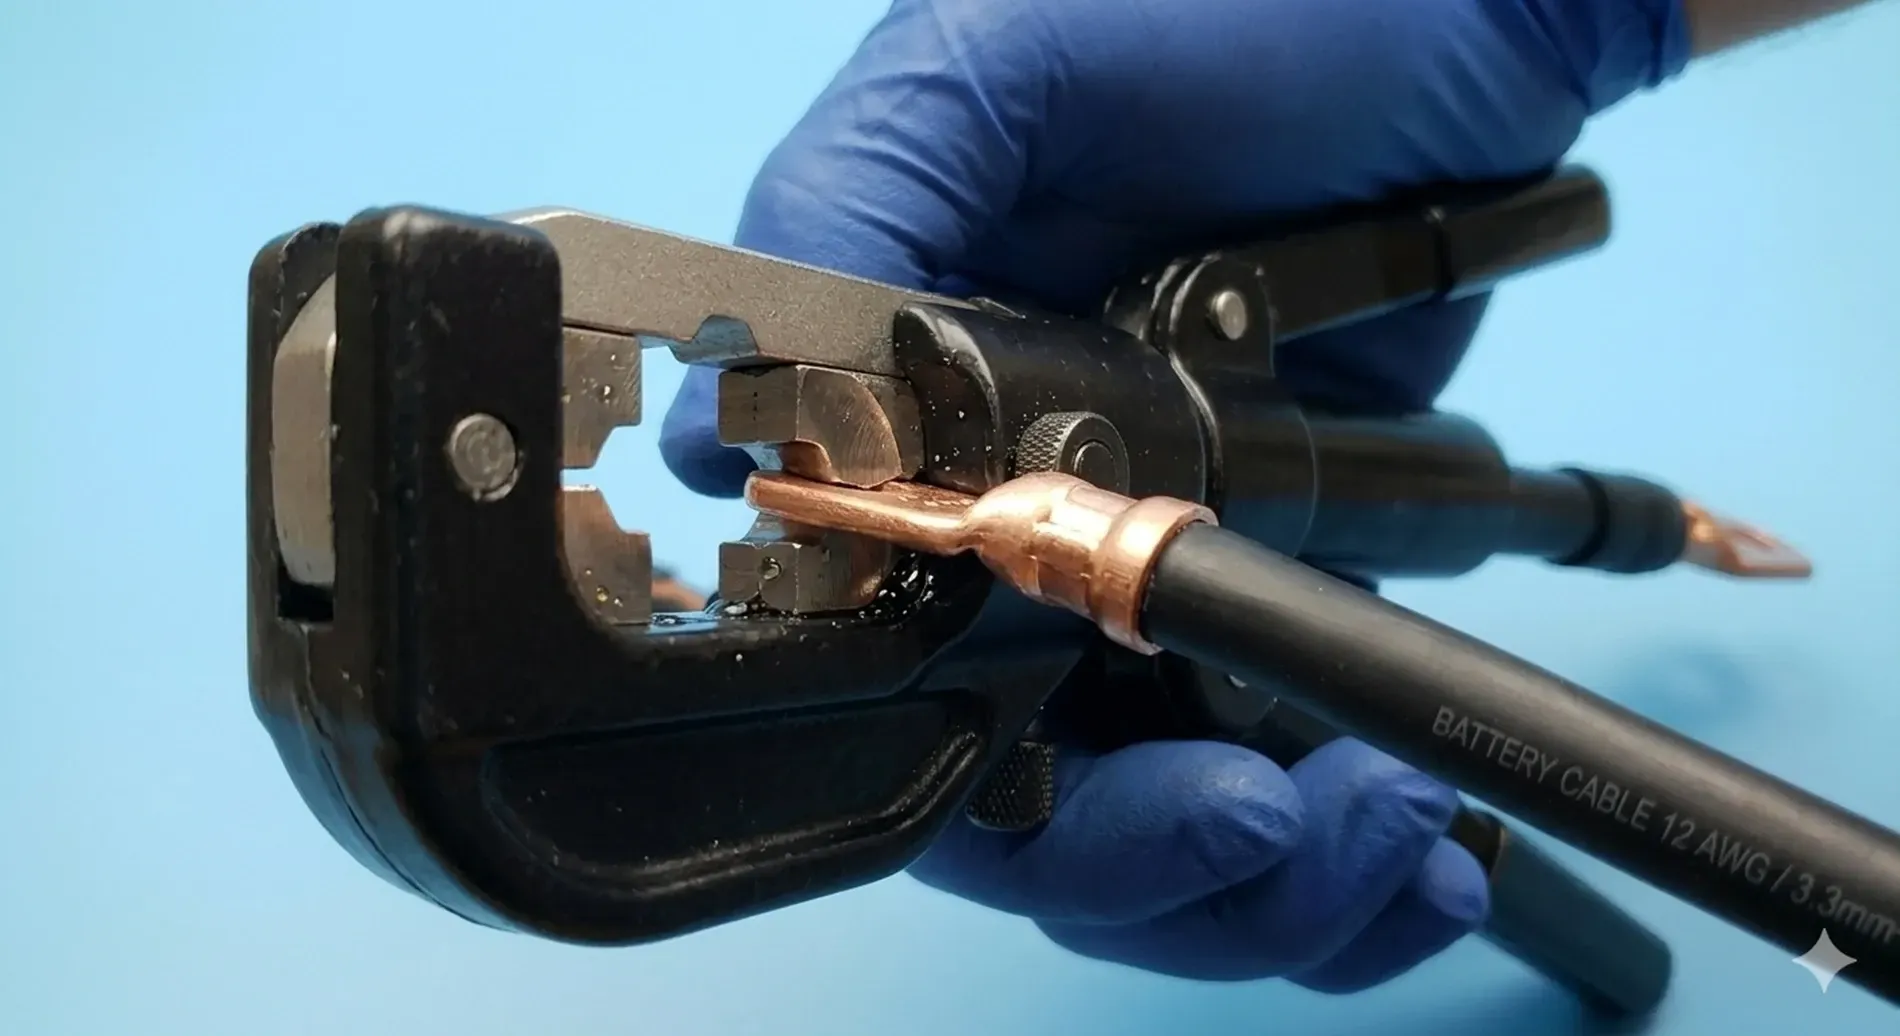
Step 4: Crimp the Lug — Use the correct die size for your cable gauge and crimp firmly. If you are using a hydraulic crimper, you’ll feel when it’s properly compressed. With a hammer crimper, make sure it’s tight, not just dented.
Step 5: Seal the Connection — Slide heat shrink over the lug and apply heat evenly until it seals, creating a weatherproof barrier.
Step 6: Optional Protection — Add a dab of dielectric grease to the terminal point to prevent future corrosion.
- Image Suggestion: A close-up action shot of a hand using a hydraulic crimper on a lug.
- ALT Text: Step-by-step instructions for crimping a battery lug with a hydraulic tool.
- Filename: step-by-step-crimp.jpg
4. Common Mistakes (Where Things Go Wrong)
❌ Loose Crimp: If your car won’t start or your inverter keeps cutting off, you probably have a high-resistance connection. Fix: Re-crimp with the proper tool—never reuse a damaged lug.
❌ Wrong Lug Size: If the cable slips out or overheats, the lug is too big or too small. Fix: Always match the lug size exactly to your cable gauge (e.g., 4 AWG to 4 AWG).
❌ No Heat Shrink: Skipping this causes corrosion after a few months, especially in solar setups. Fix: Always seal the connection; moisture is the silent killer of electrical systems.
❌ Using Pliers Instead of a Crimper: This works today, but it will fail under load tomorrow. Think of it like trying to tighten wheel nuts with your bare hands—just don't.
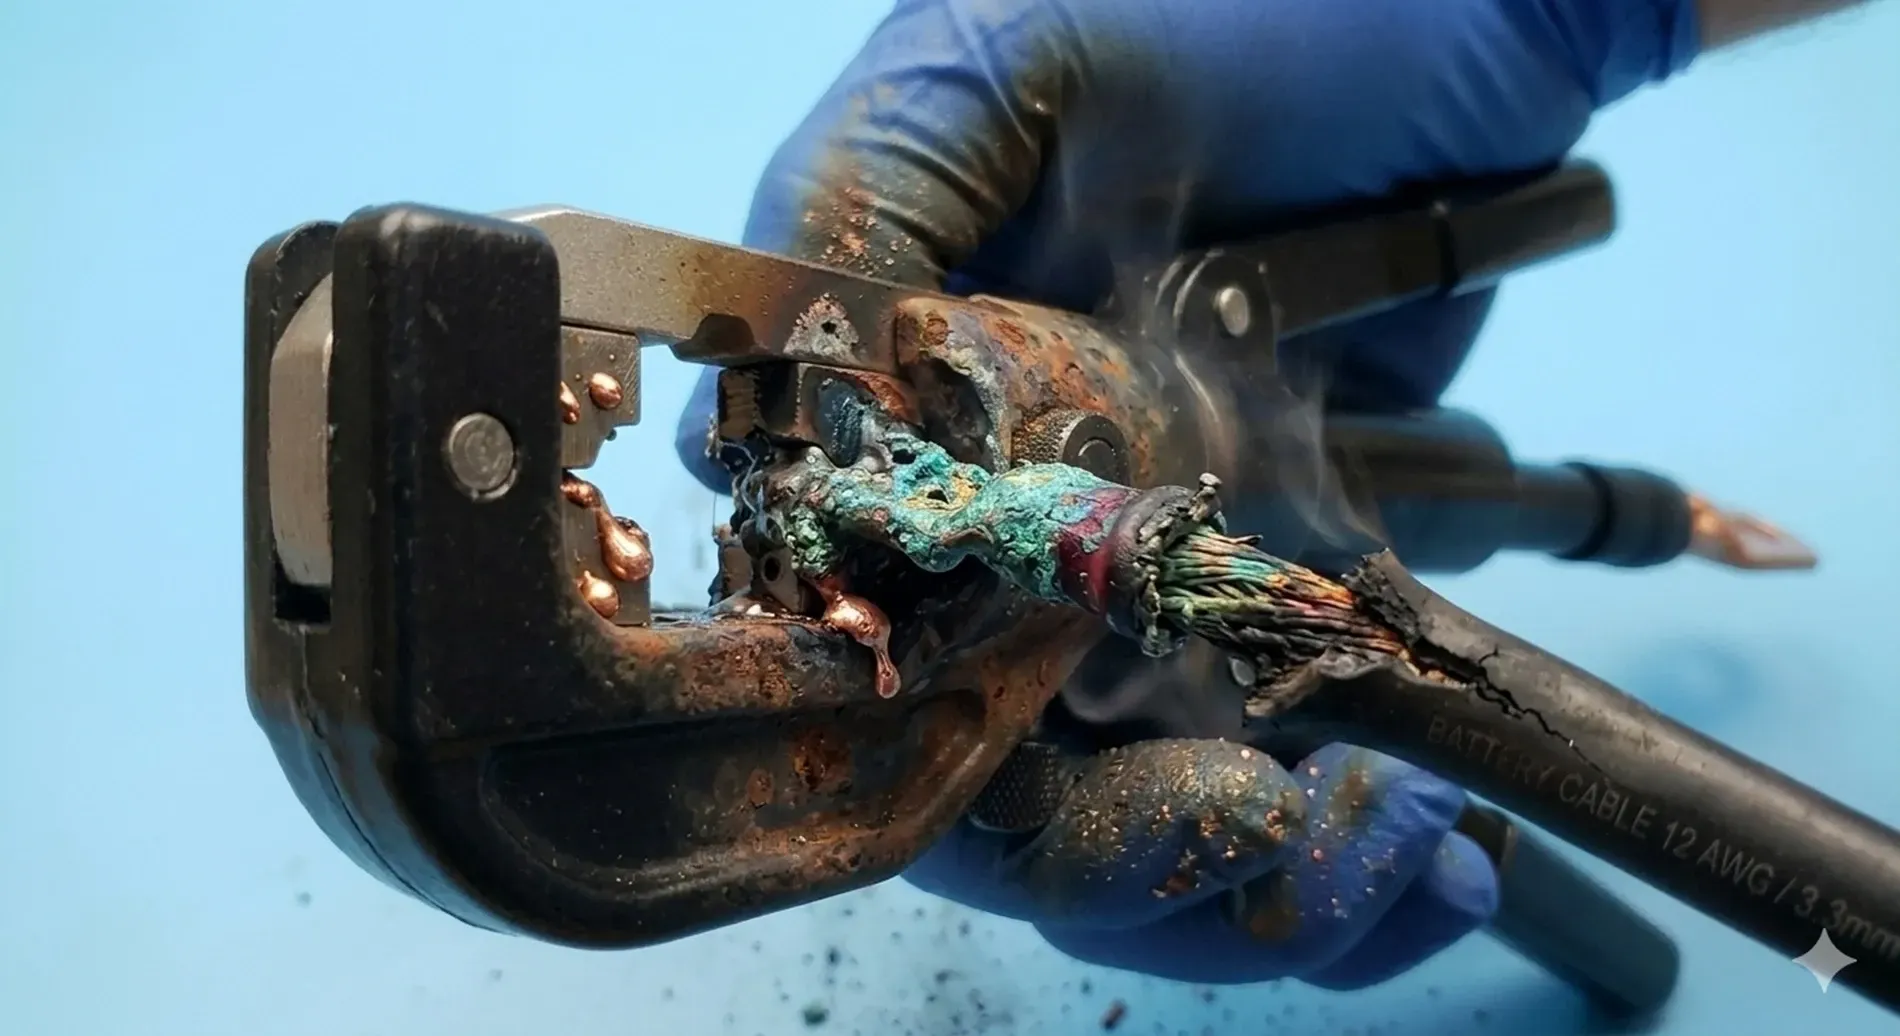
- Image Suggestion: A picture of a failed, melted, or corroded electrical connection.
- ALT Text: Examples of common mistakes in electrical crimping.
- Filename: failed-crimp-mistake.jpg
5. Real-World Examples
🚗 Example 1: Car Battery Cable — These thick (2–4 AWG) cables need a strong, secure crimp to handle high engine startup current. A poor crimp = a slow crank or an annoying clicking sound.
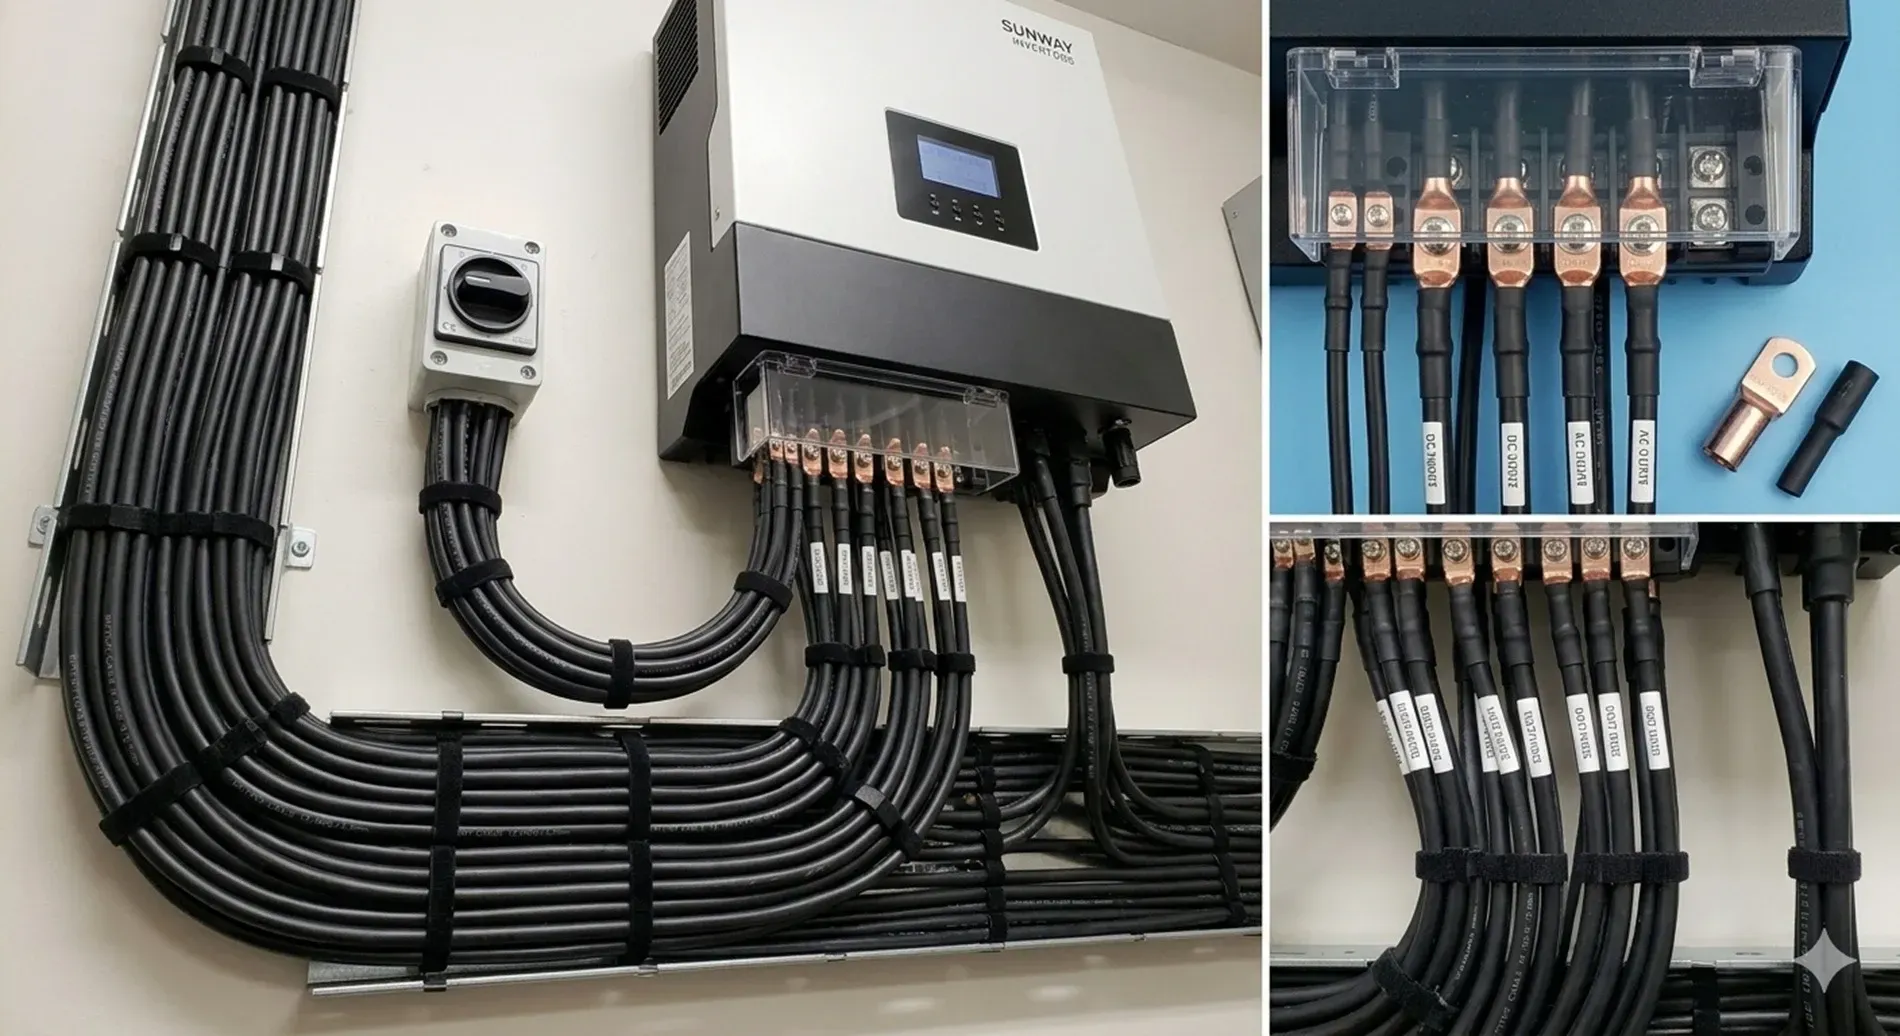
☀️ Example 2: Solar/Inverter System — This is crucial for high current over long hours. A loose lug equals high heat, leading to melted insulation. Best practice is a hydraulic crimp + adhesive heat shrink.
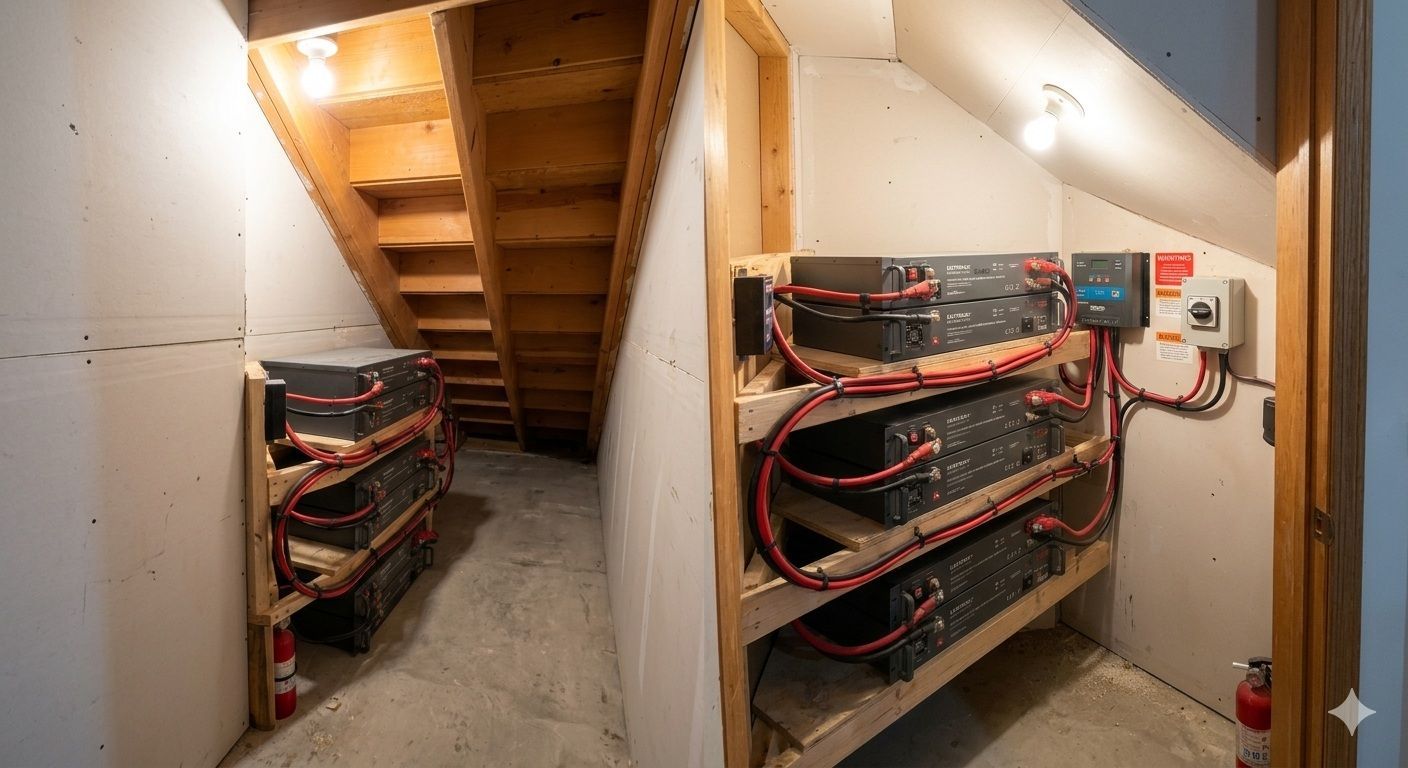
🏠 Example 3: Backup Battery Bank — When managing multiple cables, you have multiple failure points. Standardize your method: use the same cable length, lug type, and crimp method for everything.
- Image Suggestion: A neatly wired solar inverter system with neatly bundled cables.
- ALT Text: Properly installed battery cables on a solar inverter.
- Filename: inverter-battery-cabling.jpg
6. How to Test If You Did It Right
Quick Test: Give it a "tug test"—pull hard, and it should not move at all.
Better Test: Use a multimeter to check continuity. Your resistance should be near zero.
Real Test (Under Load): Run your system, whether it’s starting the car or running the inverter, and feel the lug. A cool lug is good; a warm or hot lug means a bad crimp.
- Image Suggestion: A person using a multimeter to test a connection on a battery.
- ALT Text: Testing a battery cable connection with a multimeter.
- Filename: testing-crimp-multimeter.jpg
7. Pro Tips (Where the Pros Separate Themselves)
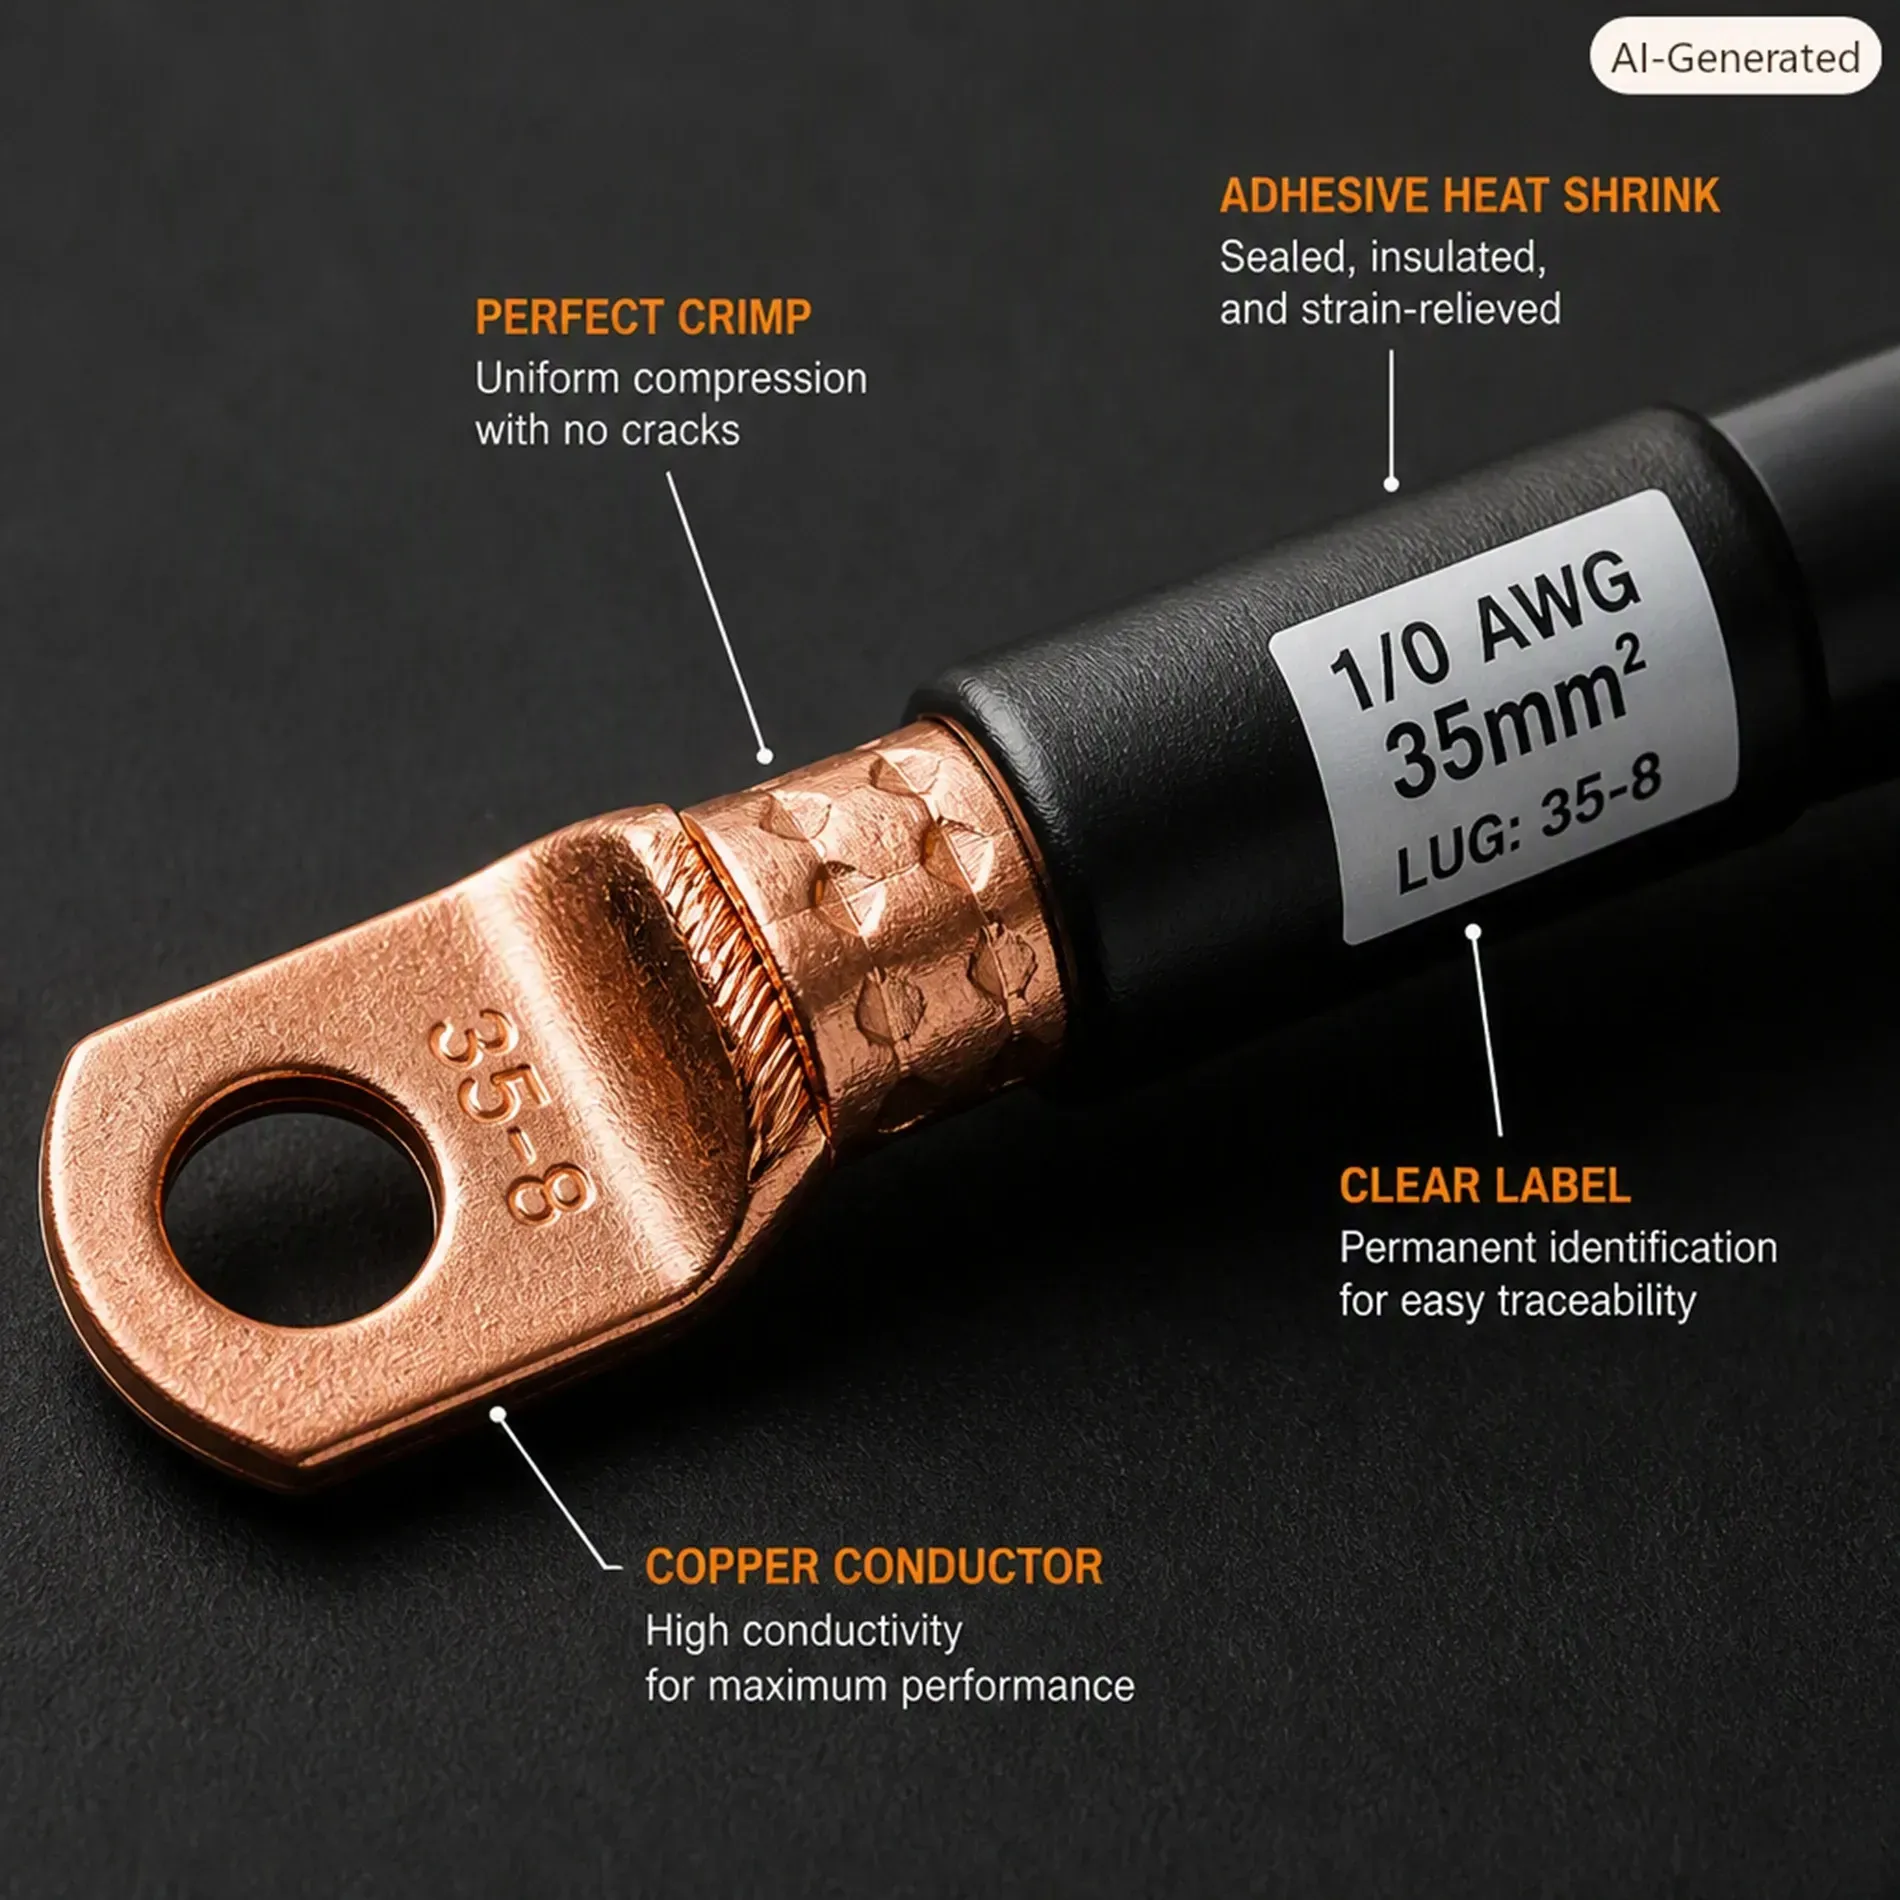
Use tinned copper lugs for outdoor or solar use, as they resist corrosion better. Use a double crimp for heavy cables. Always label your cables, especially in complex solar installs. Keep your cable runs short to reduce voltage drop, and always make sure your cable gauge, lug size, and crimper die match up perfectly.
- Image Suggestion: A close-up of a perfectly crimped, labelled cable with adhesive heat shrink.
- ALT Text: Pro tip: Tinned copper lug with heat shrink and wire label.
- Filename: pro-tip-lug-crimp.jpg
Bottom Line
A proper lug connection should be three things: mechanically strong, electrically efficient, and environmentally sealed. If it’s not all three, you’ll eventually have problems. By following these steps and using the right tools, you can ensure your electrical connections are built to last, saving you time and trouble down the road.
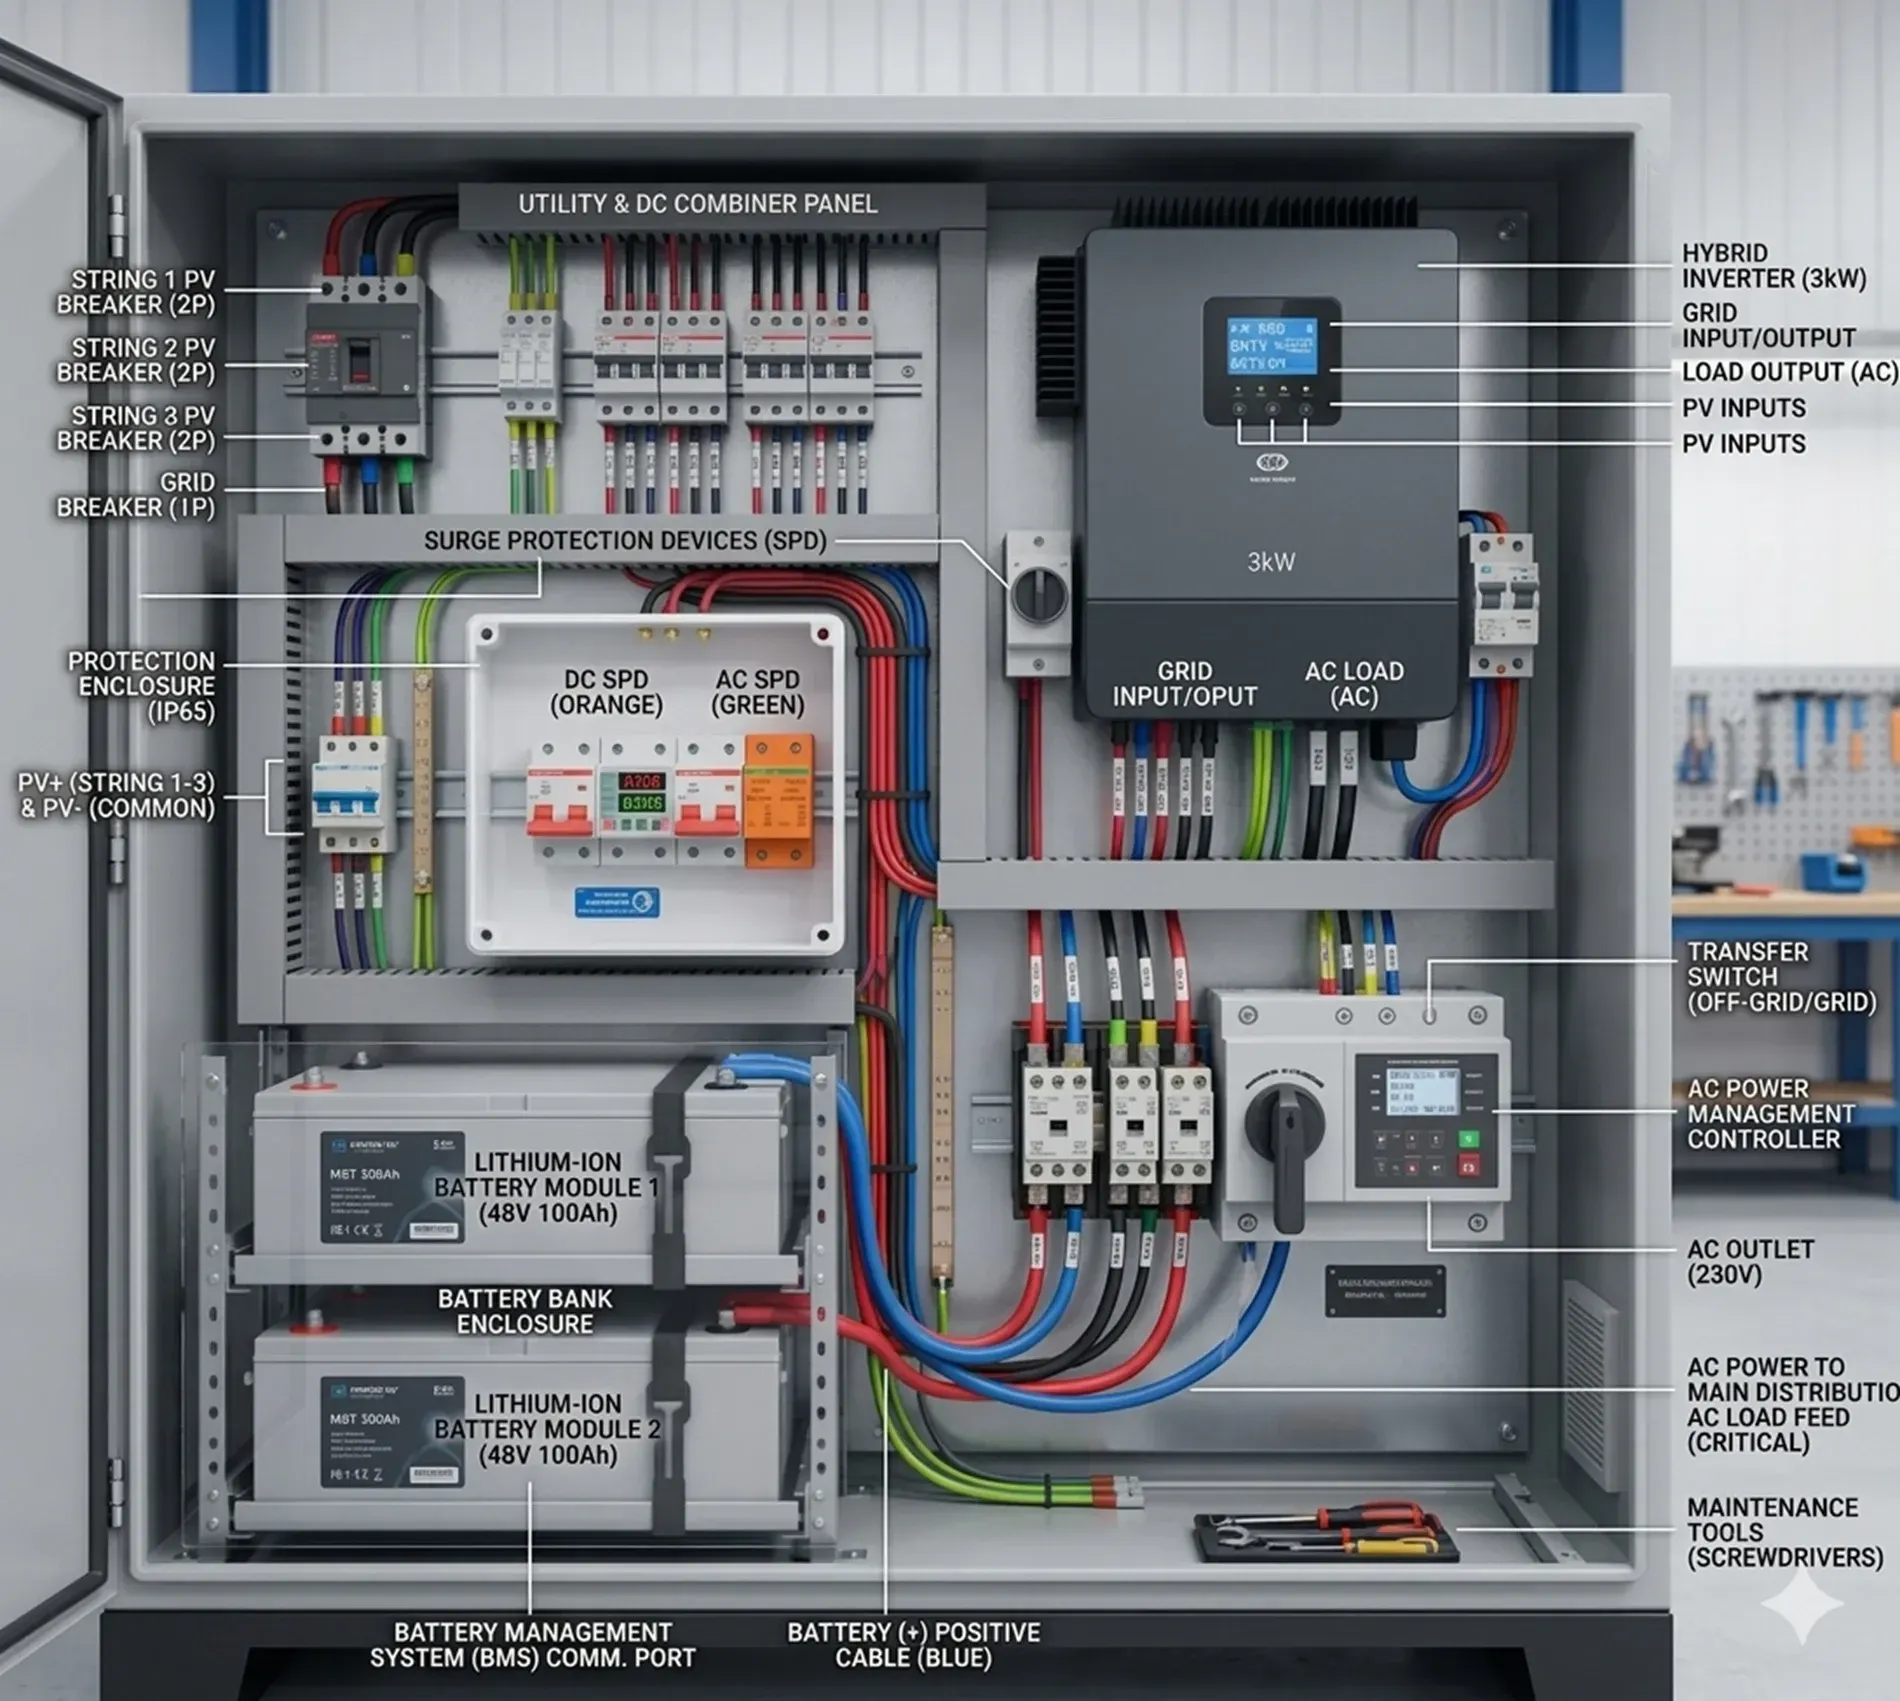
- Image Suggestion: A wide shot of a completed, high-quality, professional solar installation cabinet.
- ALT Text: Final, professional electrical installation with properly secured cables.
- Filename: final-pro-crimp-results.jpg
"Ready to stop wasting time on loose connections?...
- Get our free 'Ultimate Lug Selection Guide' for SolarUyo approved sizes and, if you're local, stop by the shop for a free demo on our hydraulic crimper!"
2. Tools You’ll Need (Non-Negotiables vs. The Nice-to-Haves)
2. Tools You’ll Need (Non-Negotiables vs. The Nice-to-Haves)
7. Pro Tips (Where the Pros Separate Themselves)
7. Pro Tips (Where the Pros Separate Themselves)
3. Step-by-Step Assembly (The Right Way)
3. Step-by-Step Assembly (The Right Way)
6. How to Test If You Did It Right
6. How to Test If You Did It Right