
HomeOwner Solar System Check list before Installation
Author name
HomeOwner Solar System Check list before Installation
HomeOwner Solar System Check list before Installation
Hello guys, and welcome. Dr. PeterA is here to discuss your Solar Readiness Checklist
Step 1: Conduct a Comprehensive Load Audit
Before buying any equipment, you must know your exact power consumption.
- List all appliances: Write down everything you plan to power (e.g., ACs, refrigerators, water pumps).
- Check wattage labels: Record the starting and running wattage for each item.
- Separate daytime vs. nighttime loads: Determine what runs on direct solar versus battery storage.
- Size your inverter: Use your matrix to decide if a 3.5kVA or a 5kVA hybrid inverter fits your total peak load.
- 📸 Image Suggestion: A clean, animated graphic showing a single solar array with arrows pointing to a water pump (for daytime use) and a home with batteries (for evening use).
Step 2: Inspect the Installation Site & Roof Structure
Your property must physically accommodate and support the solar array safely.
- Assess shading: Ensure the roof area has zero obstruction from trees, neighboring buildings, or utility poles.
- Check roof structural integrity: Verify the roof can handle the weight of the panels and mounting rails.
- Measure available space: Ensure there is enough square footage for the required number of panels.
- 📸 Image Suggestion: A high-contrast side-by-side infographic illustrating "Natural vs. Man-Made Solar Disasters," showing a roof buckling under weight on one side versus a properly supported installation on the other.
Step 3: Verify Equipment Authenticity & Standards
Protect your investment by vetting the components before they are installed.
- Verify panel authenticity: Inspect panels to ensure they are genuine, authorized brands and not substandard counterfeits.
- Check battery manufacture dates: Confirm the shelf-life and production date of lithium or tubular batteries to avoid buying degraded stock.
- Match inverter specifications: Ensure the inverter's maximum PV input voltage aligns perfectly with your panel array configuration to prevent blowouts.
- 📸 Image Suggestion: A side-by-side comparison image labeled "Substandard vs. Genuine Solar Panel," or a close-up shot of a person pointing to the specification label on the side of a solar inverter with the "Max PV Input Voltage" text clearly highlighted.
Step 4: Design the Electrical & Grounding System
Proper electrical design prevents fires and equipment failure.
- Plan the grounding path: Ensure a continuous copper wire runs from the panel frames and rails directly to an 8-foot earth grounding rod.
- Avoid floating grounds: Verify that the inverter, sub-panels, and battery storage are tied back to the main house ground.
- Incorporate safety switches: Include an Automatic Transfer Switch (ATS) and surge protection devices in the layout.
- Size the wires correctly: Use the appropriate AWG wire gauges based on your system's total amperage.
- 📸 Image Suggestion: A labeled wide shot of a completed, high-quality, professional solar installation cabinet, adding clear visual markers to every item including the battery bank, hybrid inverter, and ATS.
Step 5: Review Financial & Regulatory Readiness
Ensure your project is compliant and properly funded before breaking ground.
- Gather utility bills: Secure 6 to 12 months of electricity bills to prove your historical usage patterns.
- Check financing documentation: If applying for an equity loan or solar financing, prepare your property deeds, business registry papers, and financial statements. [1]
- Confirm local permits: Verify city or regional permit requirements for structural alterations and grid-interconnections.
- 📸 Image Suggestion: An aesthetic layout showing a clipboard holding a "Solar Maintenance Log" template next to a folder containing neatly stacked utility bills and official business registration documents.
For more...Click here Signup for $99 Solar Workshop for Homeowner Checklist before installations
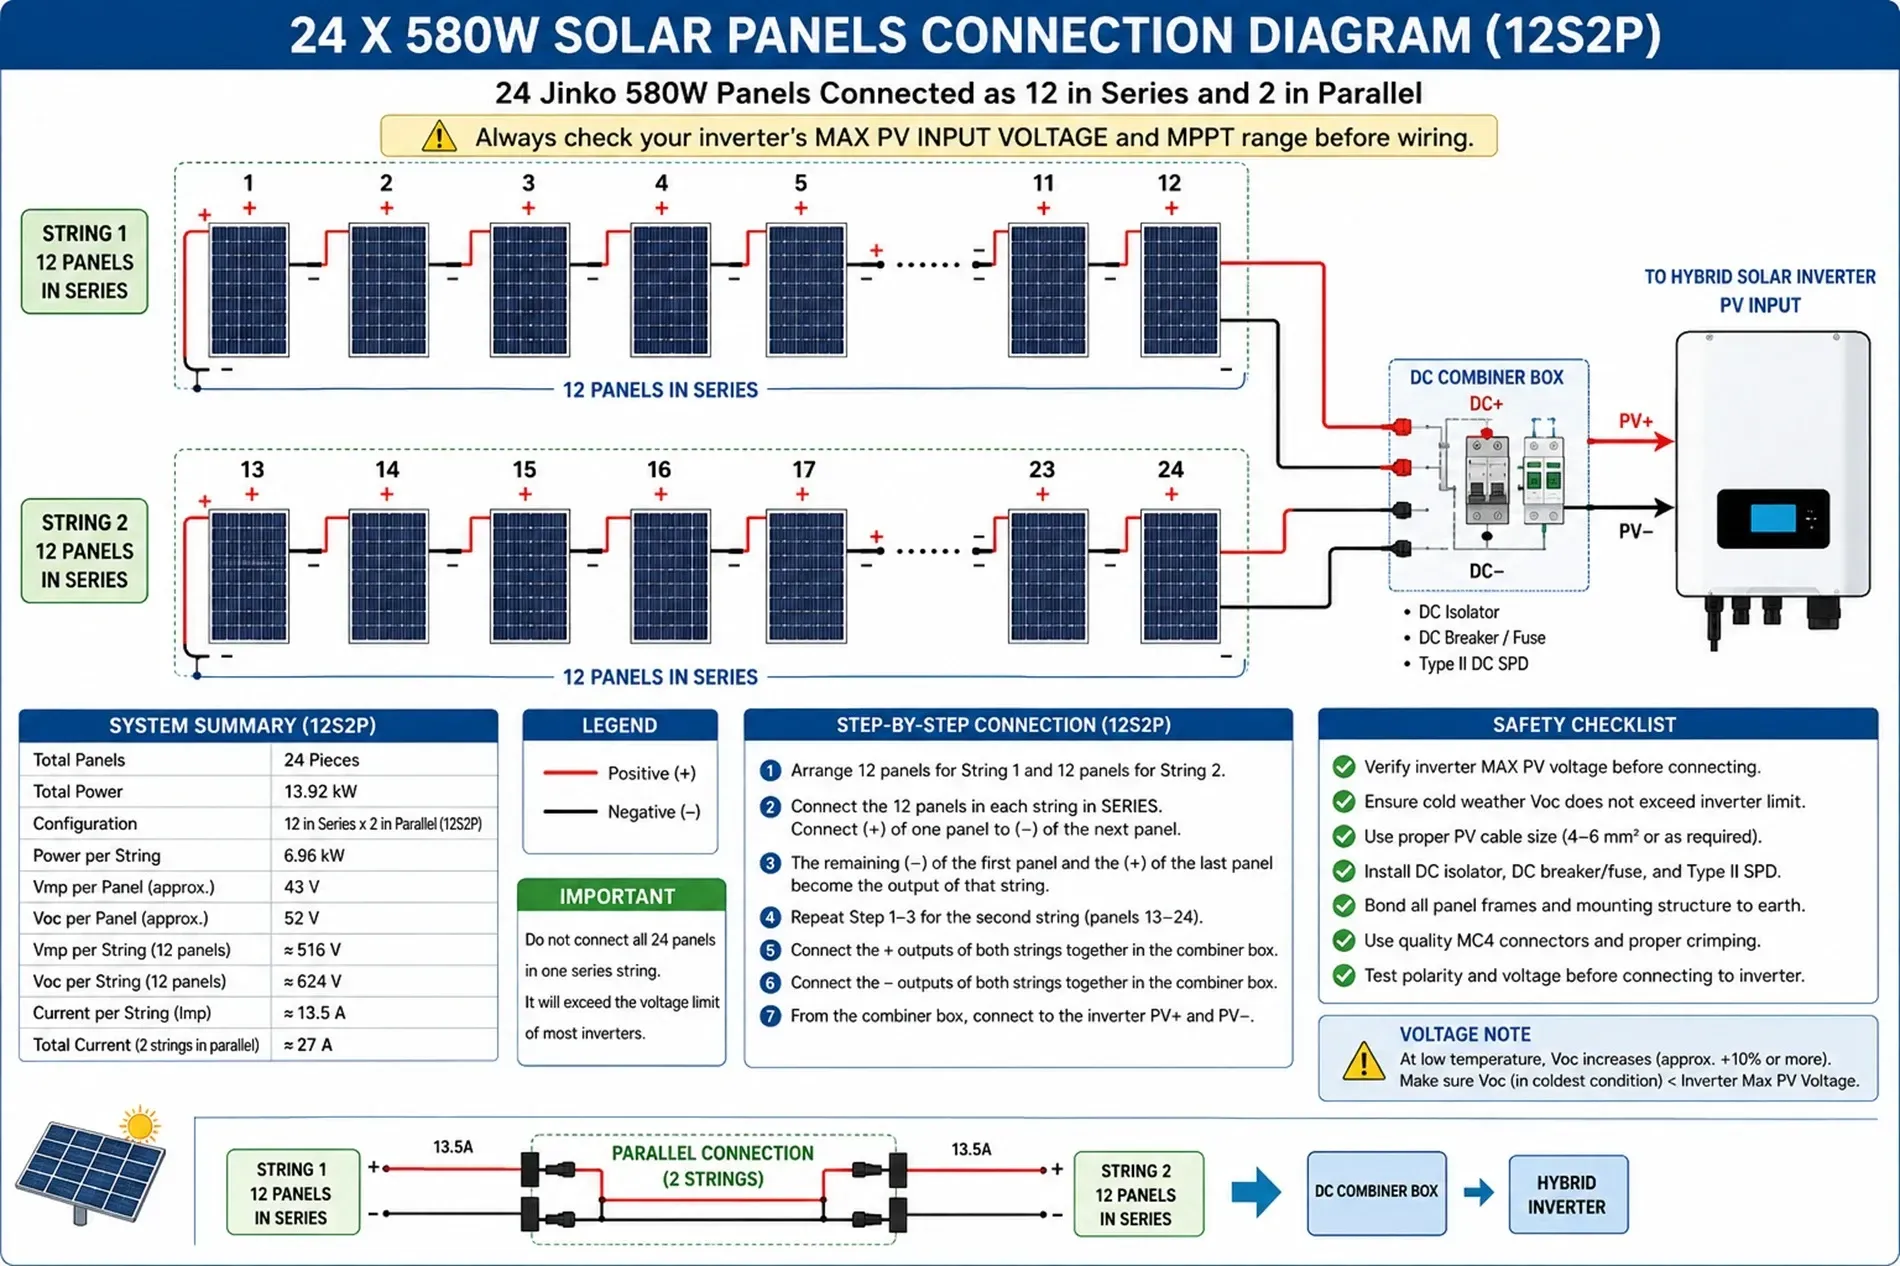
Solar Panels 24 x 580W Step-by-Step Connection (12S2P)
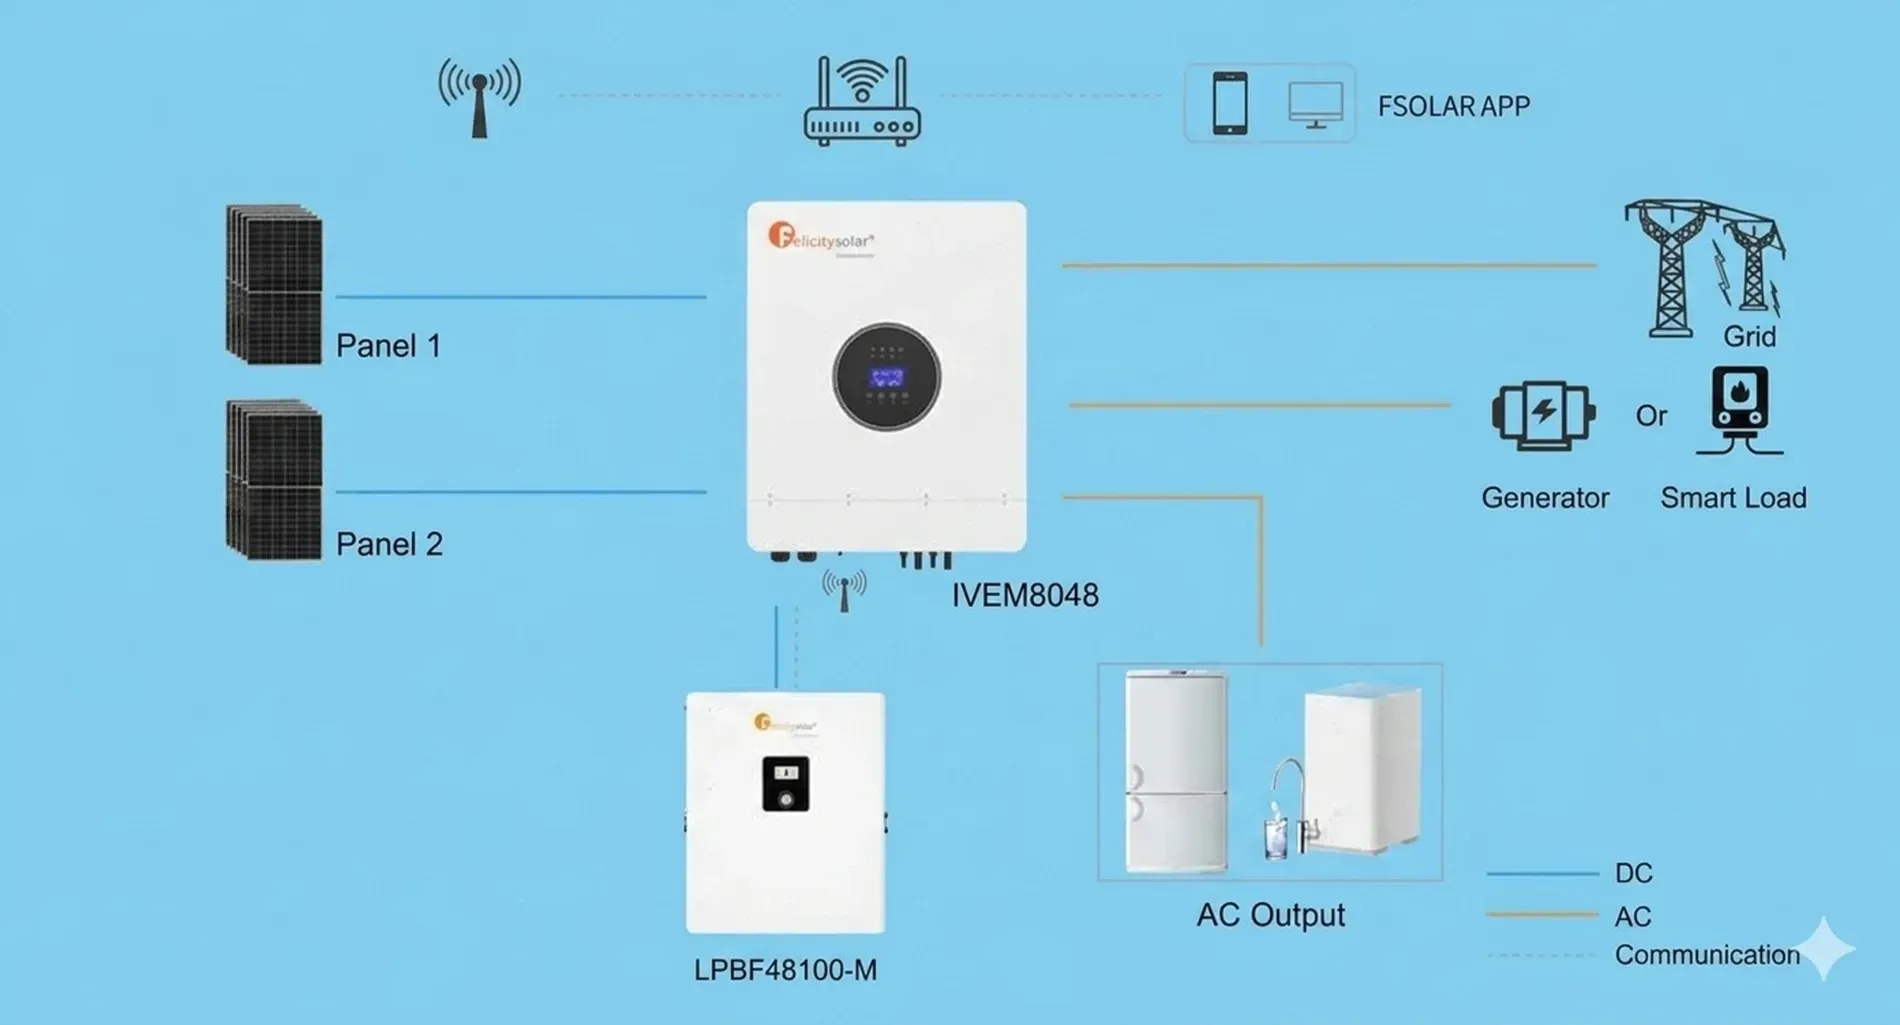
How to Set Up Your Felicity Solar WiFi Module (USB-A): A Step-by-Step Guide
Solar Grounding: The Safety Feature Everyone Ignores
Solar Buyer & HomeOwner Protection Guide
Solar Electricity Homeowner Protection Toolkit
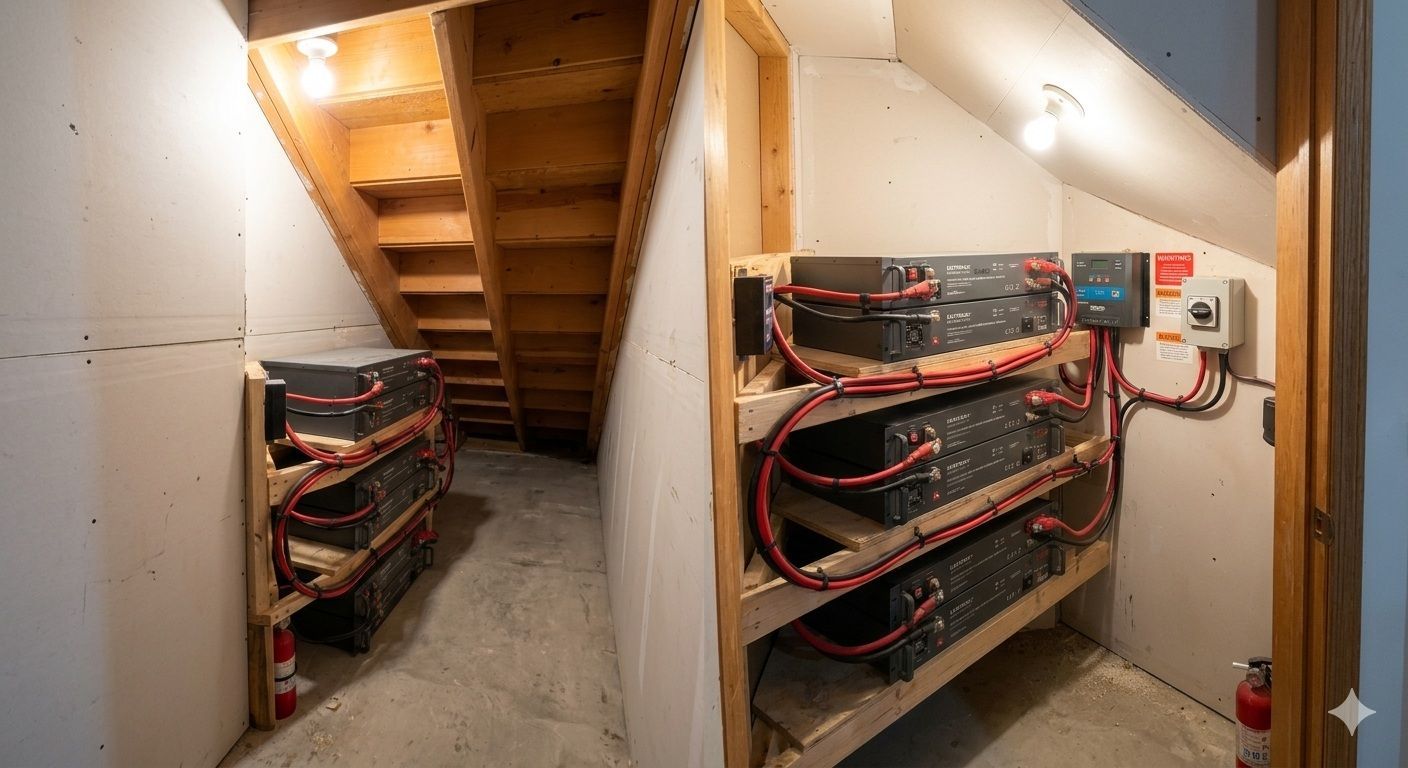
RISKY SOLAR BATTERY PLACEMENT
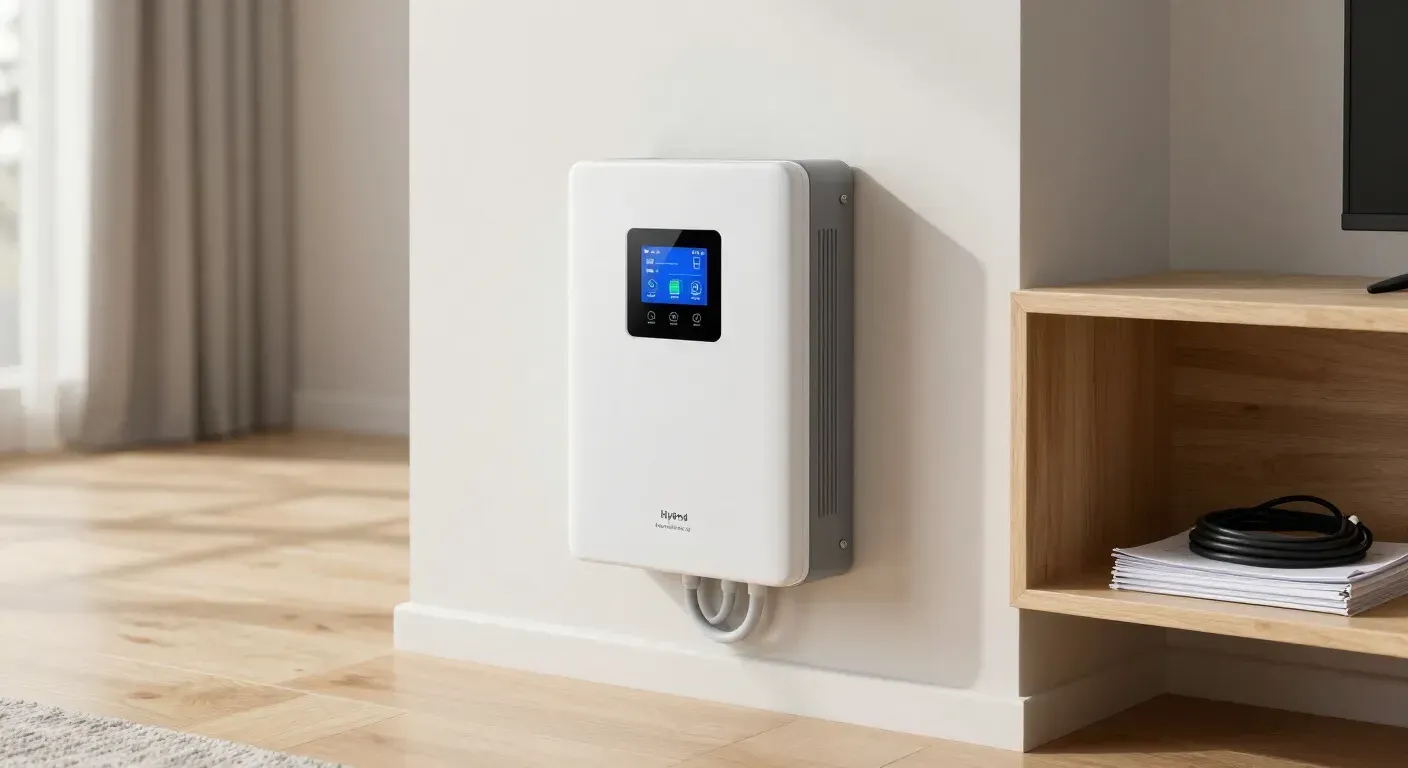
Verified Solar Inverter Guide for the Nigerian Market

Six (6) Q&A I failed to ask before I purchased my Solar System Common Solar Questions & Answers (1) How do I know what size system I actually need? Calculating your load is the first step toward avoiding the "start small and fail" trap. For a typical Nigerian home running fans, lights, a TV, and a fridge, you generally need at least a 2.4kVA inverter and 4 to 8 high-wattage panels . Don't guess—provide your installer with a list of every appliance you intend to use so they can size the system correctly from day one. [1, 2] (2) What is the difference between "premium" and "substandard" components? High-quality components, like monocrystalline panels , offer better efficiency in the Nigerian climate compared to cheaper alternatives. Genuine inverters and deep-cycle or LiFePO4 batteries are designed to handle heat and frequent cycling, whereas fake or substandard parts often fail within 6 to 12 months under the same load. [3, 4, 5, 6] (3) Will my solar panels work during a power outage or at night? Standard solar systems only provide power when the sun is shining unless you have battery storage . For 24/7 power, we recommend a hybrid system that combines solar, batteries, and the grid (or a generator backup). This ensures your home stays powered even during the rainy season or at midnight. [5, 7] (4) What kind of maintenance does a solar system require? Solar panels are relatively low-maintenance but not "zero-maintenance." In dusty regions, panels should be cleaned every 6 to 12 months with water and a soft brush to prevent performance drops of up to 25%. You should also have a professional check your electrical connections and inverter health every 3 to 5 years . [8, 9, 10, 11] (5) Why is a professional quotation so much higher than a "Nepa Line" shop price? A professional quote includes more than just panels; it covers safety devices like surge protectors, high-gauge copper cabling, and certified labor. "Cutting corners" by skipping these items can lead to fires or system failure, ultimately costing you double when you have to replace the entire setup. [12, 13] (6) How long should my solar investment last? A properly installed, high-quality system is a 20+ year investment. While batteries may need replacing every 5 to 10 years depending on the type, quality solar panels often come with 25-year performance warranties . [6, 14, 15]
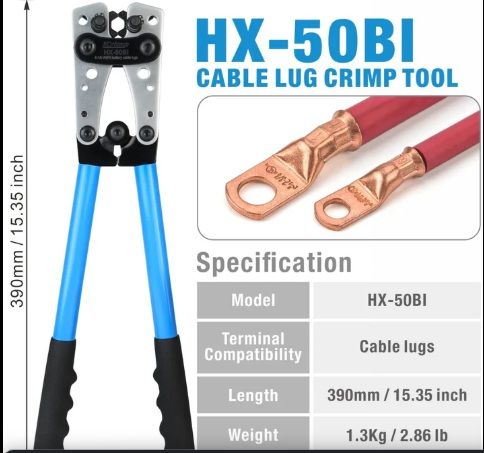
Learn to assemble battery cable lugs for safe solar connections. Get expert tips & tools for reliable installations today!
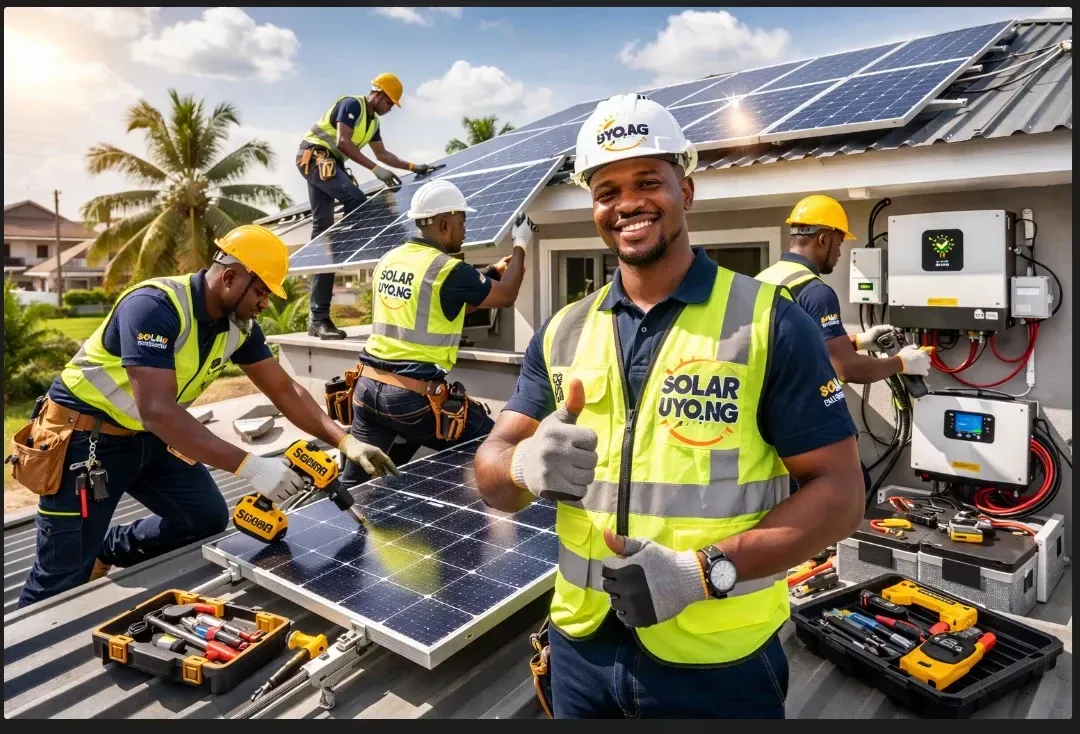
Learn safe methods to share solar arrays for inverters & pumps. Get expert installation & energy audits today!
