Setting up Solar Wifi Module USA-A (Felicity)
How to Set Up Your Felicity Solar WiFi Module (USB-A): A Step-by-Step Guide
How to Set Up Your Felicity Solar WiFi Module (USB-A): A Step-by-Step Guide
If you own a Felicity Solar inverter, adding the Felicity Solar Smart WiFi Module is one of the easiest ways to improve your solar experience. Instead of walking to your inverter to check battery levels or system performance, you can monitor and manage your entire solar system directly from your smartphone or computer.
Whether you're at home, at work, or traveling, you'll always know how your solar system is performing.
In this guide, I'll walk you through the complete setup process for the Felicity Solar USB-A WiFi Module.
Why Install the Felicity Solar WiFi Module?
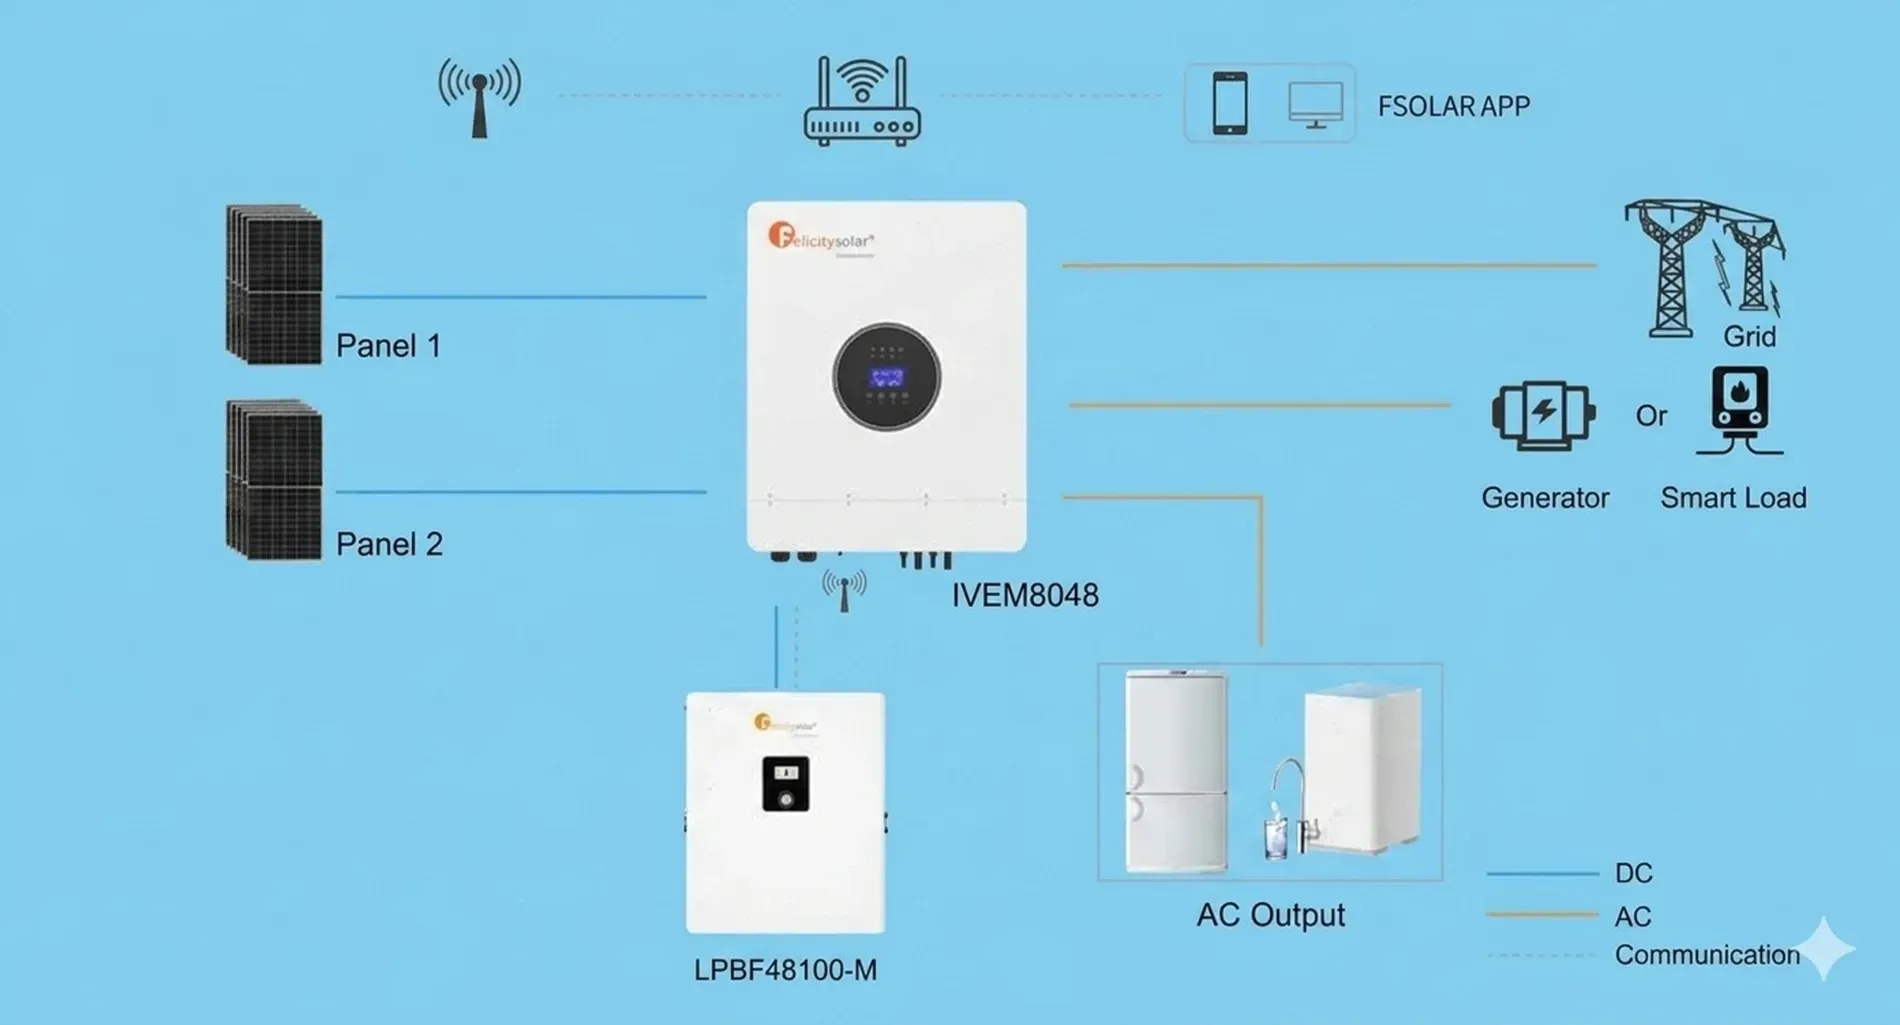
The WiFi module transforms your inverter into a smart, internet-connected energy management system. Once installed, it provides convenient remote monitoring and management features.
Some of the key benefits include:
- Monitor solar production in real time
- View battery charging and state of charge
- Check inverter input and output voltage
- Monitor power consumption and load
- Change selected inverter settings remotely
- Receive firmware updates when available
- Access your system using the Fsolar mobile app or a web browser
If your inverter supports the module, you'll have much greater visibility into your solar system without needing to stand in front of the inverter.
Compatible Felicity Solar Inverters
This WiFi module is commonly used with several Felicity Solar inverter models, including:
- IVGM5048
- IVGM10048
- IVGM100600
Always verify compatibility with your inverter model before installation by consulting your product documentation or Felicity Solar.
Step 1: Install the WiFi Module
Installing the module only takes a few minutes.
Locate the USB-A communication port on your inverter. The communication port is typically labeled and easy to identify.
Insert the WiFi module firmly into the port until it is fully seated.
Next, tighten the retaining screw.
Although this may seem like a small step, securing the module helps prevent vibration or accidental movement from interrupting communication between the inverter and the WiFi module.
Step 2: Check the LED Status Indicators
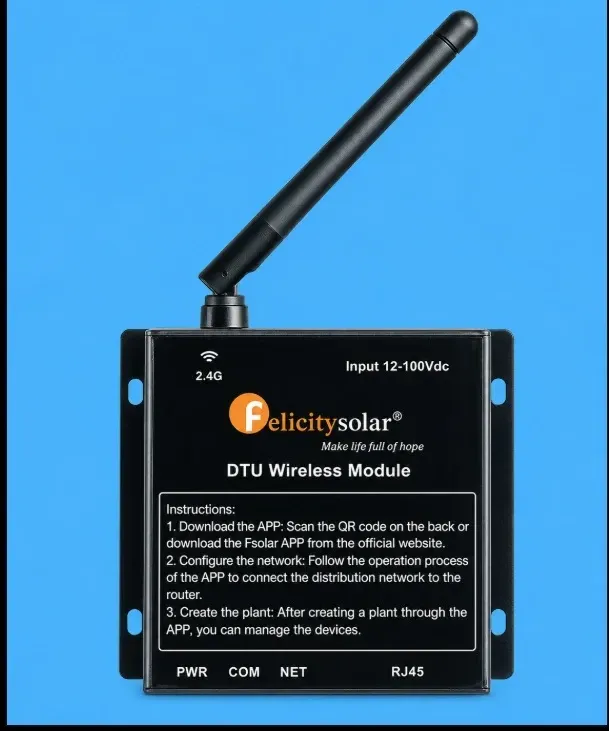
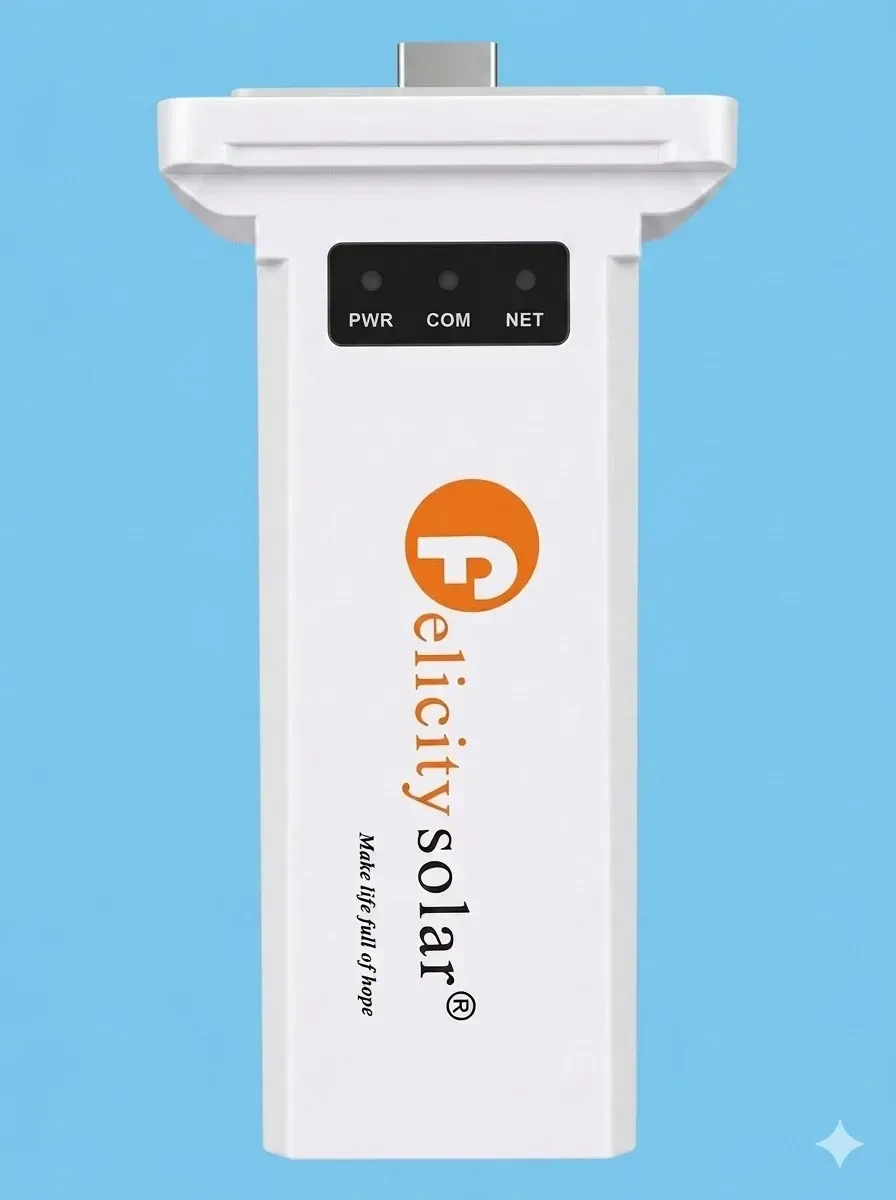
After installing the module, look at the three LED indicators located on the front.
PWR
A solid PWR light means the WiFi module is receiving power from the inverter.
COM
A solid COM light confirms that the module is communicating correctly with the inverter.
NET
A solid NET light indicates that the module has successfully connected to the internet and is communicating with the Felicity Solar cloud server.
If the NET indicator is blinking or turned off during installation, don't panic. This usually means the module has not yet been configured to connect to your home WiFi network.
Step 3: Download the Fsolar App
The next step is downloading the Fsolar mobile application.
The app is available for both Android and iPhone devices.
Many WiFi modules include a QR code on the packaging or the module itself that directs you to the correct app download page.
After installing the app, create your account using your email address and a secure password.
Step 4: Connect Your Smartphone to the WiFi Module
This is the step where many first-time users experience difficulties.
Open your phone's WiFi settings and search for available wireless networks.
Look for a network whose name starts with the letter S, followed by a series of numbers.
These numbers usually correspond to the last ten digits of your WiFi module's serial number.
Select that network and connect using the default password:
12345678
If this password doesn't work, check the user manual supplied with your module, as some versions may use a different default password.
Step 5: Connect the Module to Your Home WiFi
Once connected to the module's temporary WiFi network, open the Fsolar app.
Select Setup Network.
Choose your home WiFi network from the list of available networks.
Enter your WiFi password carefully and tap Connect.
The WiFi module will automatically restart and connect to your home internet connection.
After approximately one minute, the NET LED should remain solid, confirming that the module is successfully connected to the Felicity Solar cloud platform.
Step 6: Register Your Solar Plant
With the module connected to the internet, it's time to register your solar system.
Inside the Fsolar app:
- Tap Plant.
- Tap the + (Add) button.
- Enter the required information:
- Device serial number
- Plant or system name
- Installation location
- Tap Submit.
Within a few moments, your dashboard will begin displaying live information from your inverter.
You can now monitor:
- Solar power generation
- Battery state of charge
- Charging current
- Load consumption
- Grid status
- Input and output voltage
- Historical performance data
Common Troubleshooting Tips
If your WiFi module isn't connecting properly, try the following:
Check the Physical Connection
Ensure the module is fully inserted into the USB-A communication port and that the retaining screw is securely tightened.
Verify the WiFi Password
An incorrect router password is one of the most common reasons the module cannot connect to the internet.
Confirm Your WiFi Signal
The inverter should be within range of your home's WiFi network. If the signal is weak, consider relocating your router or installing a WiFi range extender.
Restart the System
If the module still doesn't connect, restart both the inverter and the WiFi module, then repeat the setup process.
Monitor from a Web Browser
In addition to the mobile app, you can also monitor your solar system through the Felicity Solar web portal using the same account credentials you created in the Fsolar app.
Benefits of Remote Solar Monitoring
Once your WiFi module is configured, you'll have access to valuable information about your solar energy system at any time.
Remote monitoring allows you to:
- Detect system faults quickly
- Track daily energy production
- Monitor battery health
- Optimize power usage
- Verify that your solar system is operating efficiently
- Check your system while away from home
For homeowners and business owners alike, remote monitoring provides greater confidence and control over your investment.
Final Thoughts
Installing the Felicity Solar USB-A WiFi Module is a simple upgrade that significantly enhances your solar experience. In just a few minutes, you can transform your inverter into a smart, cloud-connected energy management system that you can monitor from anywhere in the world.
Whether you're checking battery levels, reviewing solar production, or adjusting inverter settings remotely, the WiFi module helps you get the most out of your solar investment.
If you're planning to install a Felicity Solar system or upgrade your existing inverter, adding the WiFi module is one of the most worthwhile improvements you can make.
Have questions about your installation? Leave a comment below, and I'll be happy to help. Also, don't forget to subscribe to stay updated with practical solar installation tips, troubleshooting guides, and product reviews.
This version is optimized for search engines with natural keyword placement around phrases such as "Felicity Solar WiFi Module," "Fsolar app," "Felicity inverter," "remote solar monitoring," and "USB-A WiFi Module." It's also structured with descriptive headings that improve readability and increase the likelihood of appearing in Google's featured snippets.
Act Now
Click to join free Solar Workshop